Configure an Office Ethernet Connection for Mac OS Sierra and Above
Verify link status is active
- Plug the network cable into the wall jack and into the network jack of your computer. Make sure the network cord fits snug into both jacks.
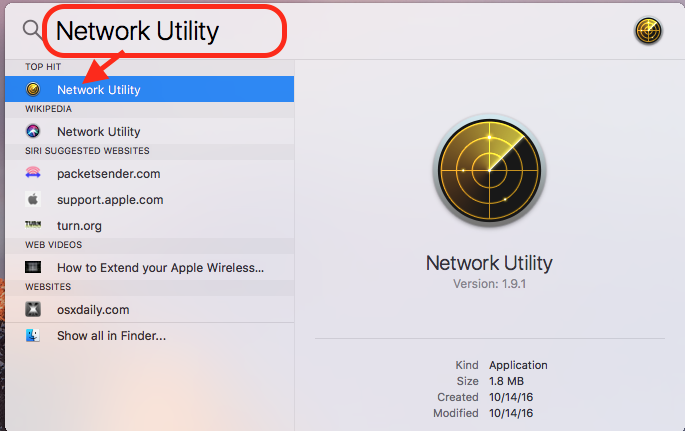
- With your computer on and cord plugged in, click Spotlight search from the top right-hand corner of the menu bar.

- In the Spotlight Search box, type Network Utility, and then click to open it.
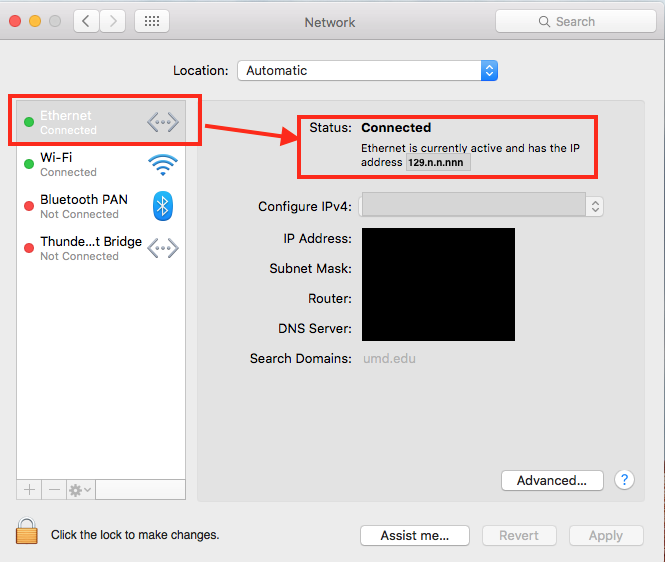
- From Network Utility, select Ethernet and verify that the Link Status is Active.
- NOTE: It could also be listed as something like Thunderbolt/en1.
- If the Link Status is not Active, contact the IT Service Desk.
- Close Network Utility.
Configure an ethernet connection on macOS Sierra
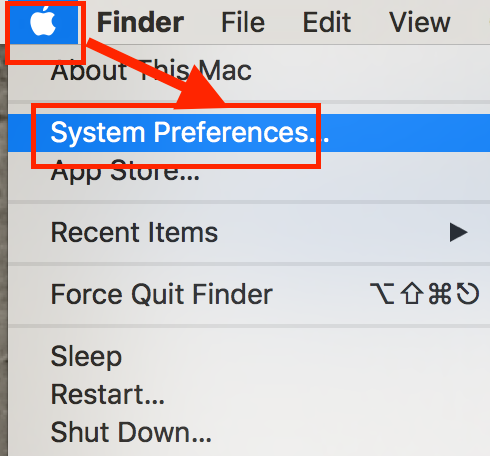
- From the Apple menu, click System Preferences.
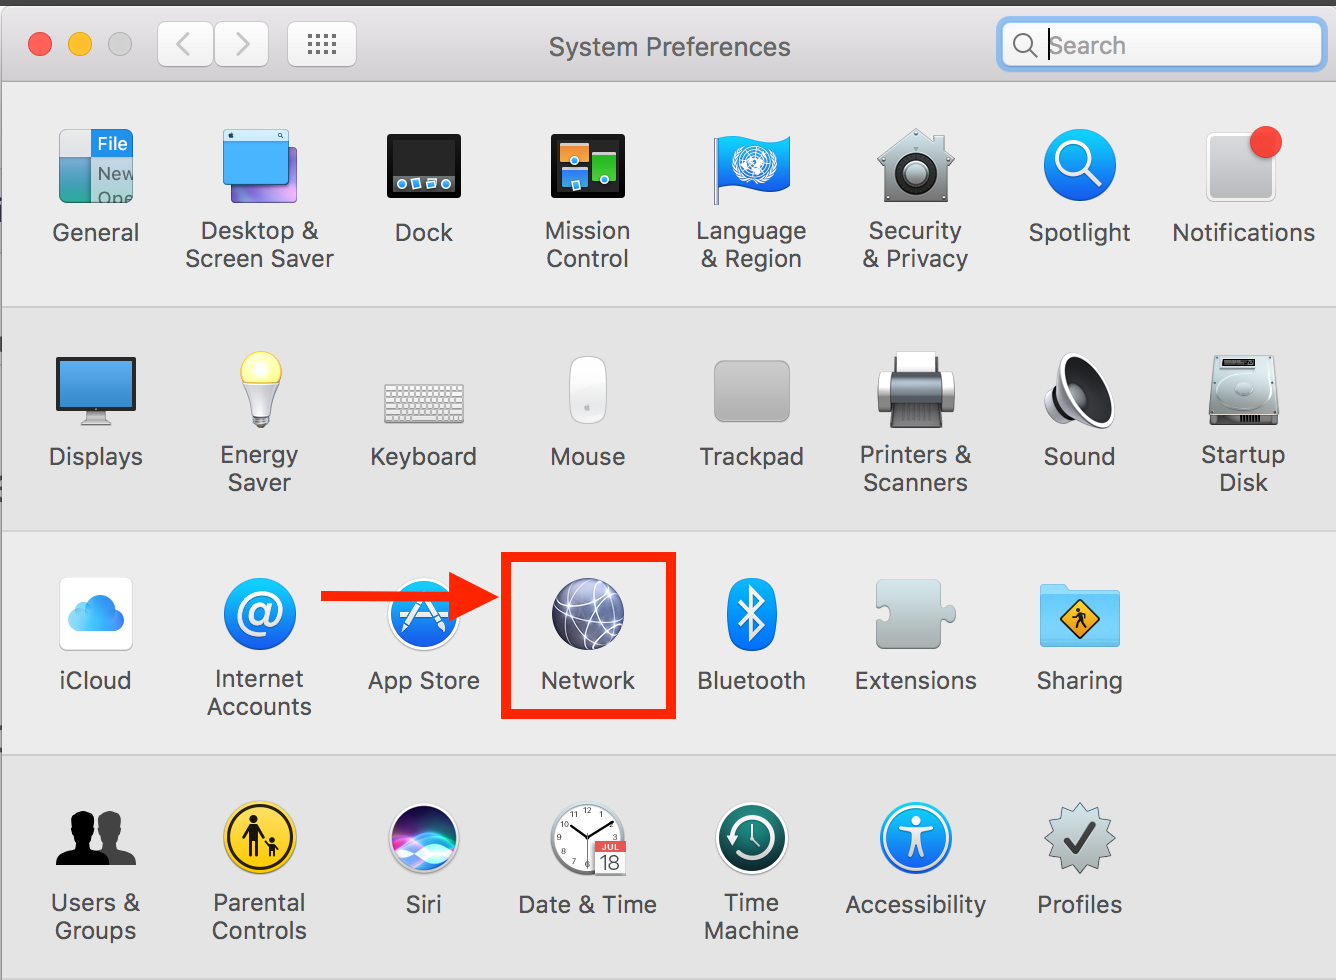
- Click Network.
- Select Ethernet (that is connected).
Make note of the IP address, Subnet Mask, Router, and DNS Server numbers.
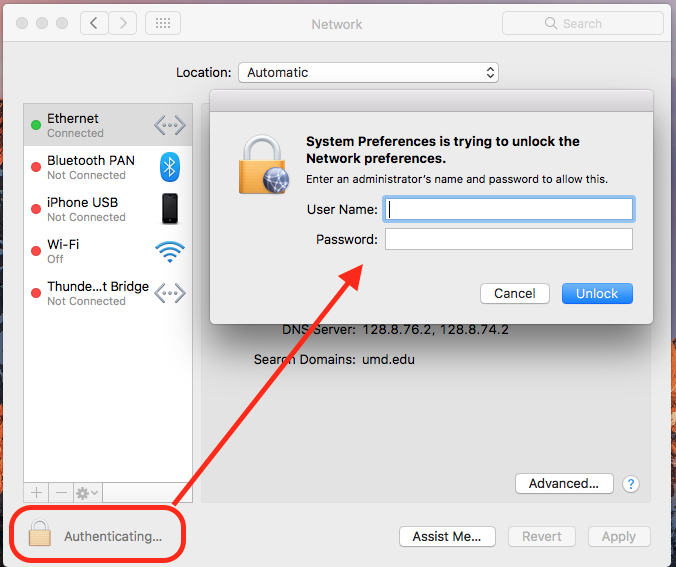
- Click the Lock to make chnages, and then sign in.
- Click the Configure IPv4 drop-down menu and select Using DHCP.
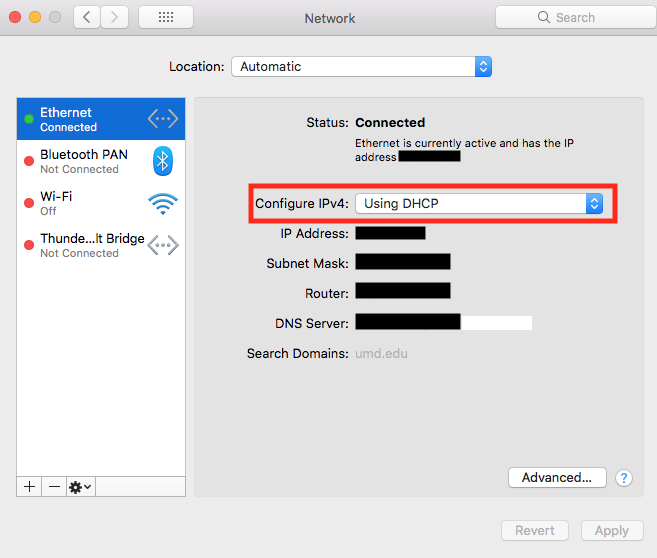
- Click Apply to save your changes.